How to Create a Cool Parallax Effect in React.js
3/1/2026
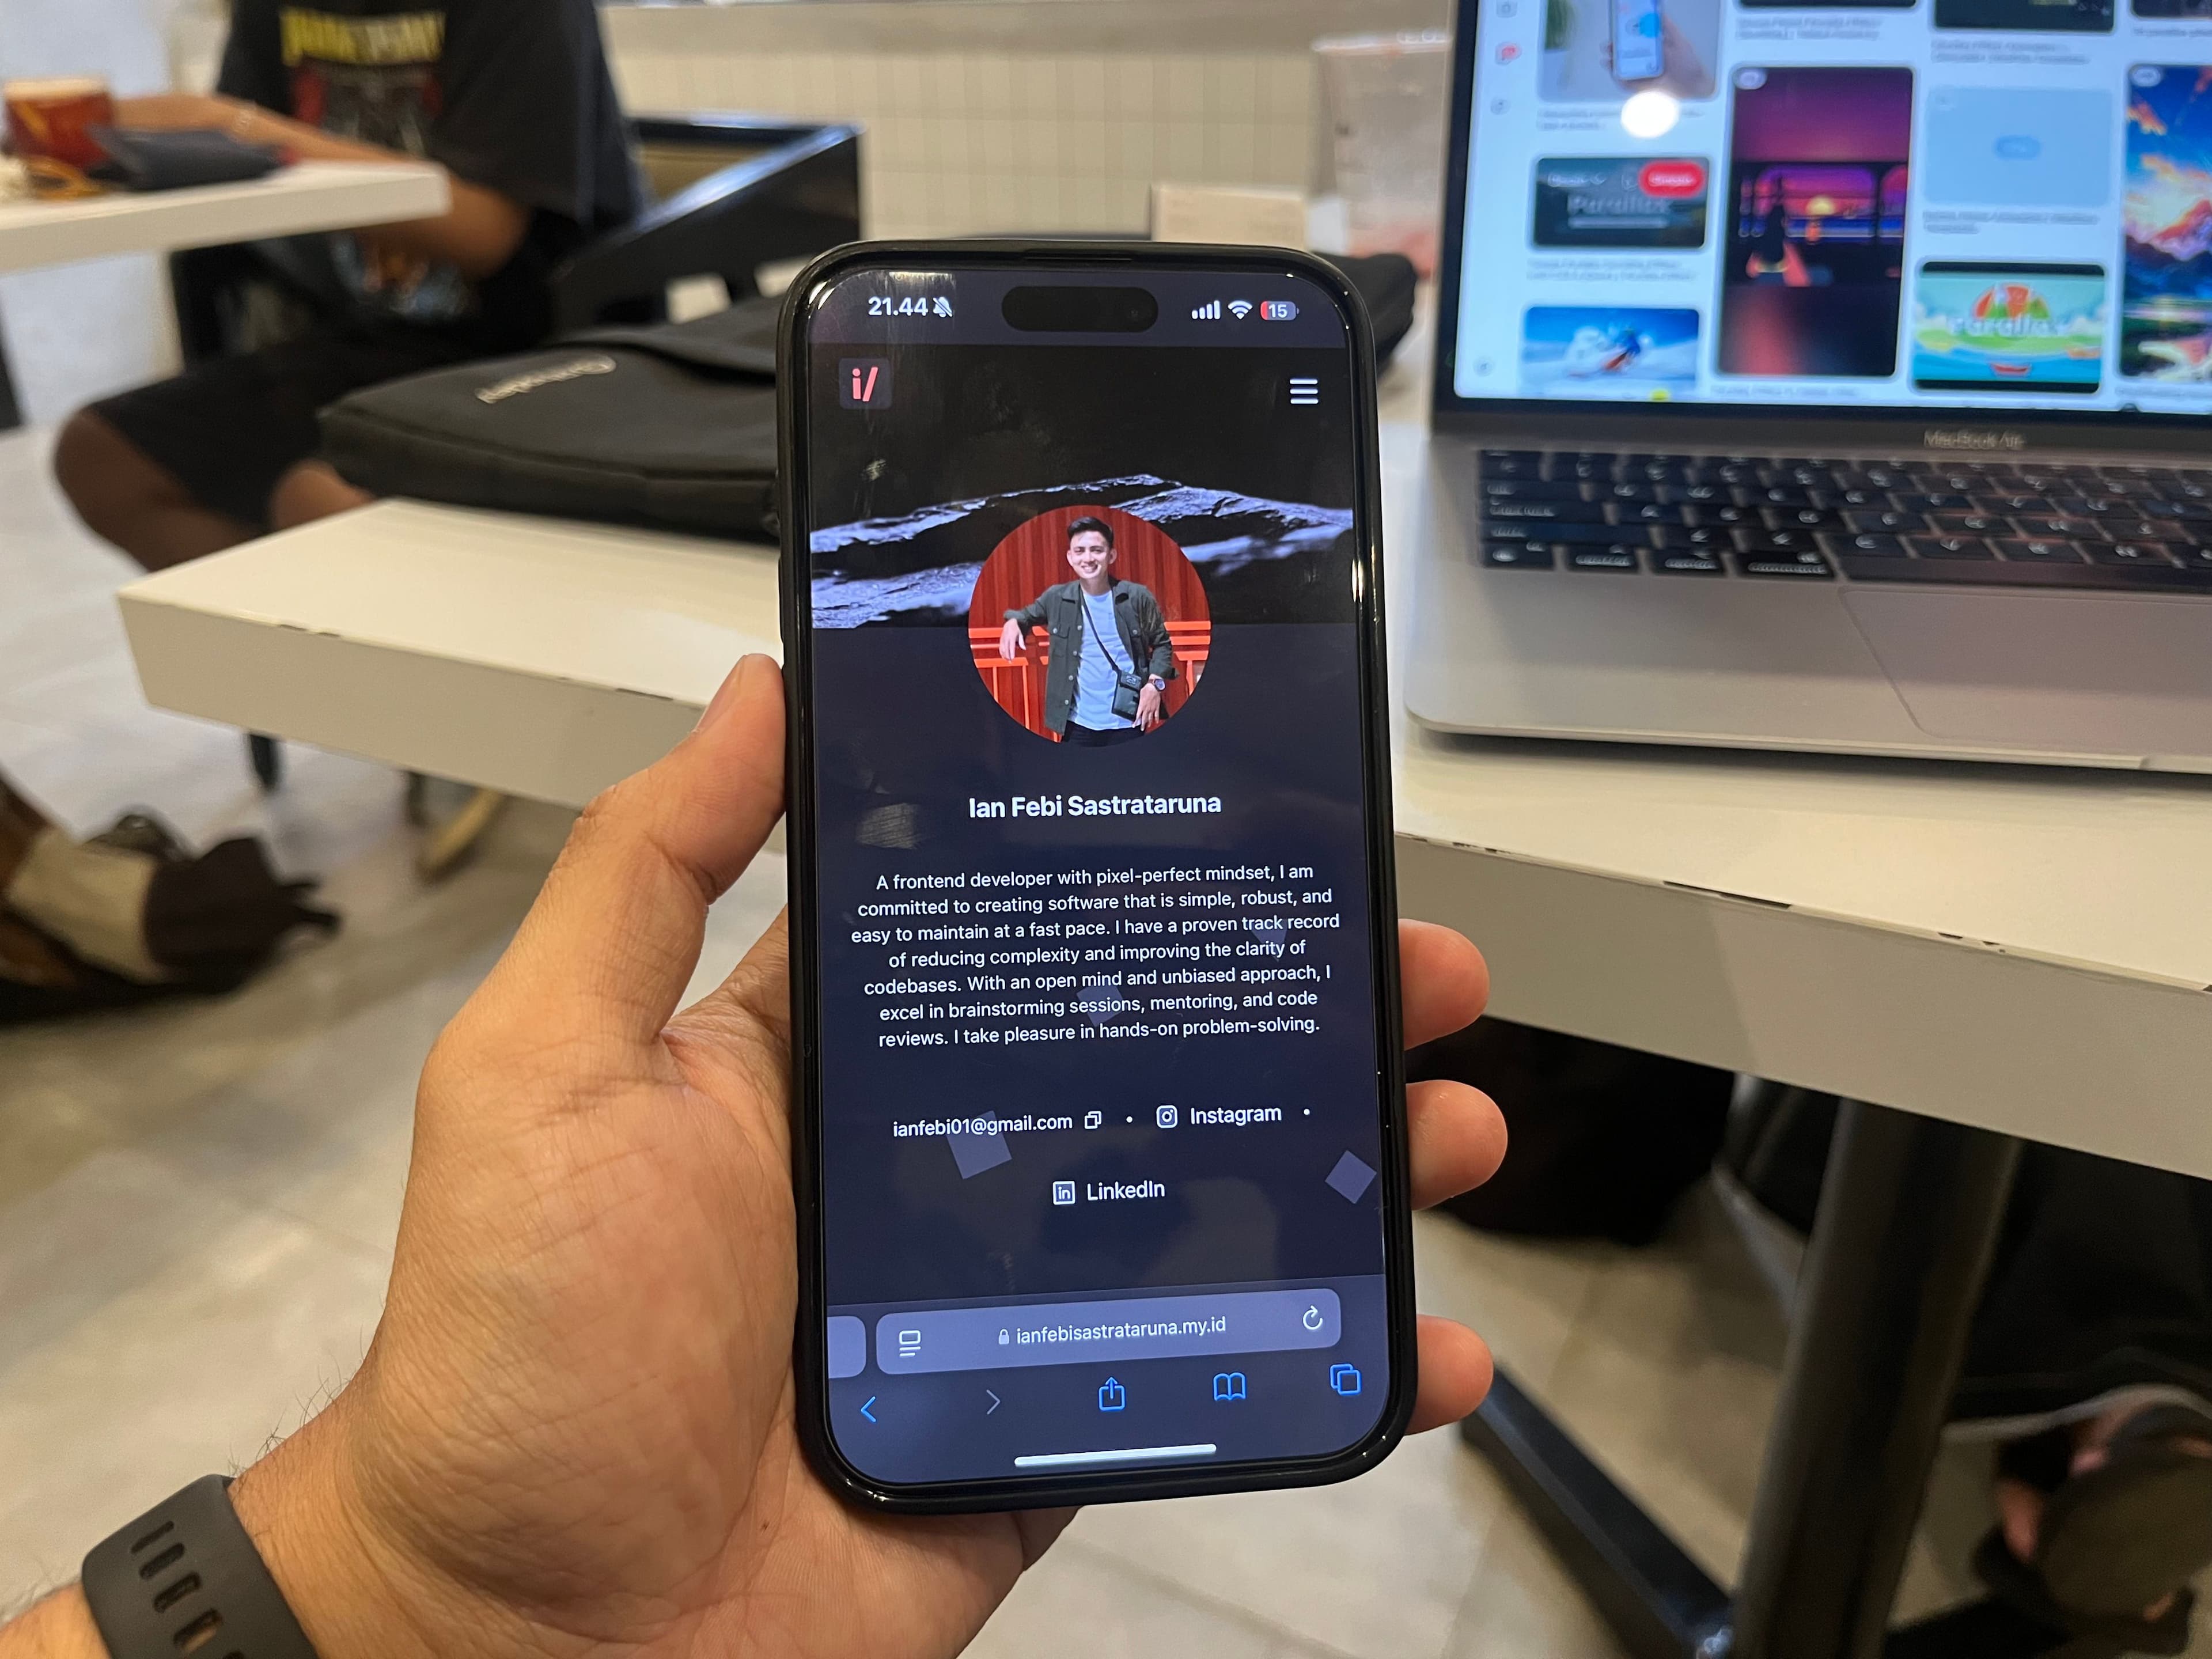
Scrolling Parallax adalah tren desain web yang populer yang menciptakan kesan kedalaman dengan menggerakkan elemen latar belakang dan latar depan dengan kecepatan yang berbeda. Ini menarik secara visual dan relatif mudah untuk diterapkan di React. Dalam tutorial ini, kita akan membangun efek parallax dasar langkah demi langkah dan membuatnya dapat digunakan kembali dan mudah dipakai.
Apa yang Akan Anda Pelajari
- Bagaimana efek parallax bekerja
- Cara menerapkannya menggunakan React
- Penyedia parallax yang dapat digunakan kembali
Prasyarat
- Pengetahuan dasar tentang React dan CSS
- Node.js terinstal di sistem Anda
- Editor teks (misalnya, VSCode)
1. Persiapkan Proyek React Anda
Jika Anda belum memiliki proyek React, buat satu dengan perintah berikut:
yarn create vite parallax-effect-example --template react-ts
cd parallax-effect-example
yarn install
Kemudian, jalankan server pengembangan:
yarn dev
Lalu buka di browser:
http://localhost:5173/
2. Instal Dependensi
Kami akan menggunakan pustaka d3-scale untuk menyederhanakan implementasi. Instal dengan:
yarn add d3-scale
yarn add -D @types/d3-scale
3. Struktur Proyek Dasar
Buat struktur file berikut untuk proyek:
src/
  components/
    ParallaxSection.tsx
    SectionProvider.tsx
    Shape.tsx
  App.tsx
  index.css
4. Membuat Section Provider
Buat sebuah section provider yang akan meneruskan props ke bagian parallax. Kita perlu mendapatkan tinggi jendela dan posisi bagian menggunakan useEffect.
  const [myPosY, setMyPosY] = useState<number>( 0 )
  const [winHeight, setWinHeight] = useState<number>( 0 )

  const sectionRef = useRef<HTMLDivElement>( null )

  useEffect( () => {
    // Add event listener when component mounts
    setWinHeight( window.innerHeight )
    window.addEventListener( 'scroll', handleScroll )

    // Cleanup function to remove event listener
    return () => {
      window.removeEventListener( 'scroll', handleScroll )
    }
  }, [] )

  function handleScroll() {
    if ( sectionRef.current ) {
      const { top } = sectionRef.current?.getBoundingClientRect() as DOMRect
      setMyPosY( top )
    }
  }
Selanjutnya, kita perlu memvalidasi apakah Section provider memiliki anak yang valid, kemudian meneruskan props ke anak-anak tersebut. Dengan cara ini, elemen anak akan selalu menerima props myPosY dan winHeight.
    <div ref={sectionRef}>
      {React.Children.map( children, ( child ) => {
        if ( React.isValidElement( child ) ) {
          return React.cloneElement( child, {
            myposy    : myPosY,
            winheight : winHeight,
          } ) // Passing myPosY to React child components
        }

        return child
      } )}
    </div>
5. Membuat Komponen Parallax Section
Kita bisa menggunakan props myPosY untuk membuat efek parallax. Efek parallax dicapai dengan menyesuaikan posisi dan opasitas elemen secara dinamis berdasarkan posisi scroll vertikal (myPosY). Berikut adalah penjelasan tentang cara kerjanya, menggunakan pustaka d3-scale untuk mengontrol transformasi:
Gerakan Translate Y:
Variabel translate adalah fungsi scalePow dari pustaka d3-scale. Fungsi ini memetakan posisi scroll vertikal (myPosY) ke rentang nilai translasi vertikal untuk elemen dalam bagian parallax.
import { FunctionComponent, useRef } from 'react'
import { scalePow } from 'd3-scale'
import Shape from './Shape'

interface Props {
  myposy?: number
  winheight?: number
}

const ParallaxSection: FunctionComponent<Props> = ({ myposy }) => {
  const ref = useRef<HTMLElement>(null)

  const translate = scalePow().domain([-2000, 2000]).range([-100, 100])
  const opacity = scalePow()
    .domain([
      0,
      ref.current?.offsetHeight ? ref.current?.offsetHeight - 40 : 1000,
    ])
    .range([1, 0])

  return (
    <section
      ref={ref}
      id="home"
      className="main__section"
      style={{
        opacity: opacity.exponent(1)(myposy ? -myposy : 1),
      }}
    >
      <Shape myposy={myposy || 0} />
      <div className="banner-image">
        <div
          className="avatar-wrapper"
          style={{
            transform: `translateY(${translate.exponent(1)(
              myposy ? -myposy : 0
            )}px)`,
          }}
        >
          <div className="avatar"></div>
        </div>
      </div>
      <div
        className="profile-content"
        style={{
          transform: `translateY(${translate.exponent(1)(
            myposy ? -myposy : 0
          )}px)`,
        }}
      >
        <h1 className="profile-title">This is Parallax</h1>
        <div className="profile-bio">
          <p>
            Lorem Ipsum is simply dummy text of the printing and typesetting
            industry. Lorem Ipsum has been the industry's standard dummy text
            ever since the 1500s, when an unknown printer took a galley of type
            and scrambled it to make a type specimen book. It has survived not
            only five centuries, but also the leap into electronic typesetting,
            remaining essentially unchanged. It was popularised in the 1960s
            with the release of Letraset sheets containing Lorem Ipsum passages,
            and more recently with desktop publishing software like Aldus
            PageMaker including versions of Lorem Ipsum.
          </p>
        </div>
      </div>
    </section>
  )
}

export default ParallaxSection
6. Memperbarui Komponen App
Impor dan gunakan komponen ParallaxSection dalam App.js:
import SectionProvider from './components/SectionProvider'
import ParallaxSection from './components/ParallaxSection'

function App() {
  return (
    <main>
      <SectionProvider>
        <ParallaxSection />
      </SectionProvider>
      <section
        className="main__section"
        style={{
          height: '1000px',
          backgroundColor: 'var(--dark-secondary)',
        }}
      ></section>
    </main>
  )
}

export default App
7. Menambahkan Styling
Hapus app.css Anda dan ganti semua dengan kode berikut di index.css:
:root {
  --dark: #222222;
  --dark-secondary: #393939;

  font-family: Inter, system-ui, Avenir, Helvetica, Arial, sans-serif;
  line-height: 1.5;
  font-weight: 400;

  color-scheme: light dark;
  color: rgba(255, 255, 255, 0.87);
  background-color: #242424;

  font-synthesis: none;
  text-rendering: optimizeLegibility;
  -webkit-font-smoothing: antialiased;
  -moz-osx-font-smoothing: grayscale;
}

#root {
  width: 100vw;
}

body {
  margin: 0;
  display: flex;
  min-height: 100vh;
}

h1 {
  font-size: 3.2em;
  line-height: 1.1;
}

.main__section {
  padding: 0 !important;
  background-color: var(--dark);
  position: relative;
  margin-inline: auto;
  overflow: hidden;
}

.banner-image {
  display: flex;
  width: 100%;
  height: 14rem;
  position: relative;
  background-size: cover;
  background-position: center;
  background-repeat: no-repeat;
  background-color: rgb(159, 159, 159);
}

.avatar-wrapper {
  position: absolute;
  bottom: -6rem;
  left: 0px;
  right: 0px;
  margin-inline: auto;
  width: 12rem;
  aspect-ratio: 1;
  border: none;
  border-radius: 50%;
  overflow: hidden;
}

.avatar {
  background-color: var(--dark-secondary);
  width: 100%;
  height: 100%;
}

.profile-content {
  width: 100%;
  max-width: 48rem;
  margin: 8rem auto 5rem;
  display: flex;
  flex-direction: column;
  gap: 1rem;
  padding: 0 1rem;
  overflow: hidden;
}

.profile-title {
  text-align: center;
  margin: 0;
}

.profile-bio {
  text-align: center;
  color: rgba(255, 255, 255, 0.75);
}

.social-links .dot {
  display: inline-block;
}

.last-hidden:last-child {
  display: none;
}

/* Shape */
.shape {
  position: absolute;
}

.shape-1 {
  width: 40px;
  height: 40px;
  background-color: var(--dark-secondary);
  top: 80%;
  left: 6rem;
}

.shape-2 {
  width: 0;
  height: 0;
  top: 10%;
  left: 12rem;
  border-left: 20px solid transparent;
  border-right: 20px solid transparent;
  border-bottom: 30px solid var(--dark-secondary);
}

.shape-3 {
  width: 0;
  height: 0;
  top: 25%;
  left: 75%;
  border-left: 20px solid transparent;
  border-right: 20px solid transparent;
  border-bottom: 30px solid var(--dark-secondary);
}

.shape-4 {
  width: 40px;
  height: 40px;
  background-color: var(--dark-secondary);
  top: 66%;
  left: 50%;
}

.shape-5 {
  width: 40px;
  height: 40px;
  background-color: var(--dark-secondary);
  top: 85%;
  left: 90%;
}

.shape-6 {
  width: 0;
  height: 0;
  top: 60%;
  left: 50%;
  border-left: 20px solid transparent;
  border-right: 20px solid transparent;
  border-bottom: 30px solid var(--dark-secondary);
}
8. Menguji Efek Parallax
Jalankan aplikasi Anda dengan:
yarn dev
Gulir halaman, dan Anda akan melihat judul dan paragraf bergerak dengan kecepatan berbeda, menciptakan efek parallax.
9. Kustomisasi dan Peningkatan
Berikut adalah beberapa ide untuk meningkatkan efek:
- Menambahkan gambar: Ganti teks dengan gambar yang diaktifkan parallax.
- Beberapa bagian: Tambahkan lebih banyak komponen Parallax dengan kecepatan yang bervariasi.
- Optimasi kinerja: Gunakan lazy loading untuk gambar dan batasi jumlah lapisan.
Demo Langsung
Lihat demo langsung di CodeSandbox: Parallax Effect in React
Kode Lengkap
Anda dapat fork repositori ini untuk mulai bereksperimen dengan efek parallax! GitHub
Kesimpulan
Anda telah berhasil menerapkan efek parallax di React! Teknik ini dapat membuat situs web Anda lebih dinamis dan menarik. Bereksperimenlah dengan kecepatan dan elemen yang berbeda untuk menciptakan desain yang unik.